 Relief Process
The Relief Printing Process uses wood or linoleum that is carved onto to make white areas. The grain of woods can give the blacks a different look then plain linoleum. Ink is then applied then a paper is pressed on top to get the final print. The relief process begins with either a wood block or a linoleum block. When using wood you begin by toning the block with an Indian ink wash or jet black film ink. This is used to make a black ground area so that when pieces of the wood are removed it is very clear and distinct. A drawing can then be transferred to the wood with the help of an iron oxide or carbon paper transfer. Once the drawing has been transferred the artist can carve pieces of the wood out to create white spaces. Ink is applied evenly on the wood and a baron is used to push down a paper with even pressure onto the wood to get the final print. When using linoleum, you can use a marker to draw straight onto the plate or use the same transfer strategy used with wood. You can carve into the linoleum just like you would with the wood except it takes less pressure. The inking process is the same.
Intaglio Process
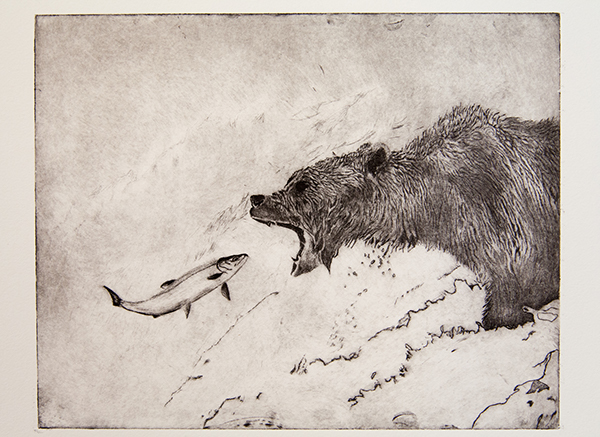
 The Intaglio Process uses metal which is either moved to create burrs that hold ink or creating a soot that can be scratched off. Once that is finished, ink is pushed and a press is used to put high pressure on a paper above for the final print. Artists like this technique as it gives off a sculptural look.
When performing Dry Point you move away parts of the metal with etching tools to create burrs that hold ink. Once the artist is done Steel Facing can be performed which increases surface strength to help insure none of the burrs break during printing.
Another technique is Etching. A ground is applied to the plate, then it is heated to become soot. Once this has occurred the surface will be a jet black. To draw, the artist barely scratches the surface so that the copper becomes visible as the soot moves away. This provides an area for the ink to go into. Once the artist is done drawing the plate is submerged in a bath of acid this eats away at the bare copper areas so that they can more easily hold ink. This is done for 15 minutes then it is taken out and washed off then bathed again for 15 minutes. Ink is then wiped on the image. After that, the access ink is wiped off. Then paper is put over the metal and put under a press at high pressure.
.
Lithography Process
 The Lithography Process is very intricate process using grease and anti grease to get an image. Lithographic pencils and Lithographic crayons are used to draw on the lithographic stone. The drawn on parts can be easily removed with things like razor-blades. The inking process is longer and takes a lot of trial and error.
In this process the artist draws directly onto the stone to start. Once the artist is done drawing Gum Arabic is applied. Once the stone receives the Gum Arabic, acidified Gum Arabic is applied, Tapem for example, which helps keep the Gum Arabic bonded to the stone. Some of the material is then removed and then Gum Arabic is reapplied. Cheesecloth is then used to push the materials into the stone. Asphaltum is then used to replace the drawing material. This creates a greasy base which the ink will be able to replace. The image with then disappear slightly to become a ghost image. If the image is etched properly the ghost image will still be somewhat clear. Then the surface is wet down slightly, dried, then sponged, and immediately inked. Before inking paper, the ink is pushed down into the stone. The softness of paper can give off a different tone. A good inking is found when you can see the hand motion marks on the paper.
Testing One
I would like to try Intaglio Process, because it seems more simple then the others, and I like the general look it gives off. It seems like it would be fairly similar to normal drawing as well. I think some of the looks and feels these types of printing gave off are still trying to be captured by modern artists even if they aren't using these processes.


No comments:
Post a Comment